It's wise to start 2021 by creating a personal blog. Having a personal blog will make us more productive by writing a lot. The content can be a personal experience or daily work. No need to hesitate to start, nor to be embarrassed. Write it for yourself, if someone else happens to read it, it doesn't matter, who knows he might come up with an idea 😄
This time I will make a tutorial to create a simple blog, using Next.Js and Sanity.io. For styling use TailwindCSS. Then, this blog will not make you bothered by paying, all for free. The blog will later be deployed on vercel, and the studio (sanity content editor) will be hosted on Sanity.io's own server, free, just focus on writing (unless you want to add a personal domain) .
To be able to follow this tutorial, at least you can use ReactJs and understand CSS. Here is the repository which I prepared to make it easier, please fork and then clone, because to deploy to Vercel you need your own repository. Use the practice branch if you want to follow the tutorial from the start, while the main branch is the production branch, and it's finished and deployed here. Ok, here we go!
Technolgy
- NextJs is a development from React to create hybrid websites that support server-side rendering and static site generation (SSG). To create a blog this time we will take advantage of the SSG feature from NextJs so that the results of the blog build later are static HTML files.
- Sanity.io is a content management platform (like a CMS) that has an open-source editor that can be customized with ReactJs. Sanity Project itself can be hosted on the cloud or on its own server, for free, and the quota is generous.
- TailwindCSS is a new CSS framework with the utility first paradigm, providing many classes that can be used for rapid application development.
Kick Off
To start, after clone the blog repository above, install all project dependencies.
$ git clone https://github.com/muhsalaa/simple-next-blog
$ cd simple-next-blog && yarn
After all dependencies have been installed, you can run development server with the command yarn dev, or do production build and run it on local server with the command yarn build && yarn start. Of course both of them run with dummy data that already exists. Our goal in this tutorial is that the blog can run with real data stored on the server with the help of Sanity.io.
Next, we will install the Sanity CLI to start creating a studio for this blog. Run the following command at the terminal.
$ npm install -g @sanity/cli && sanity init
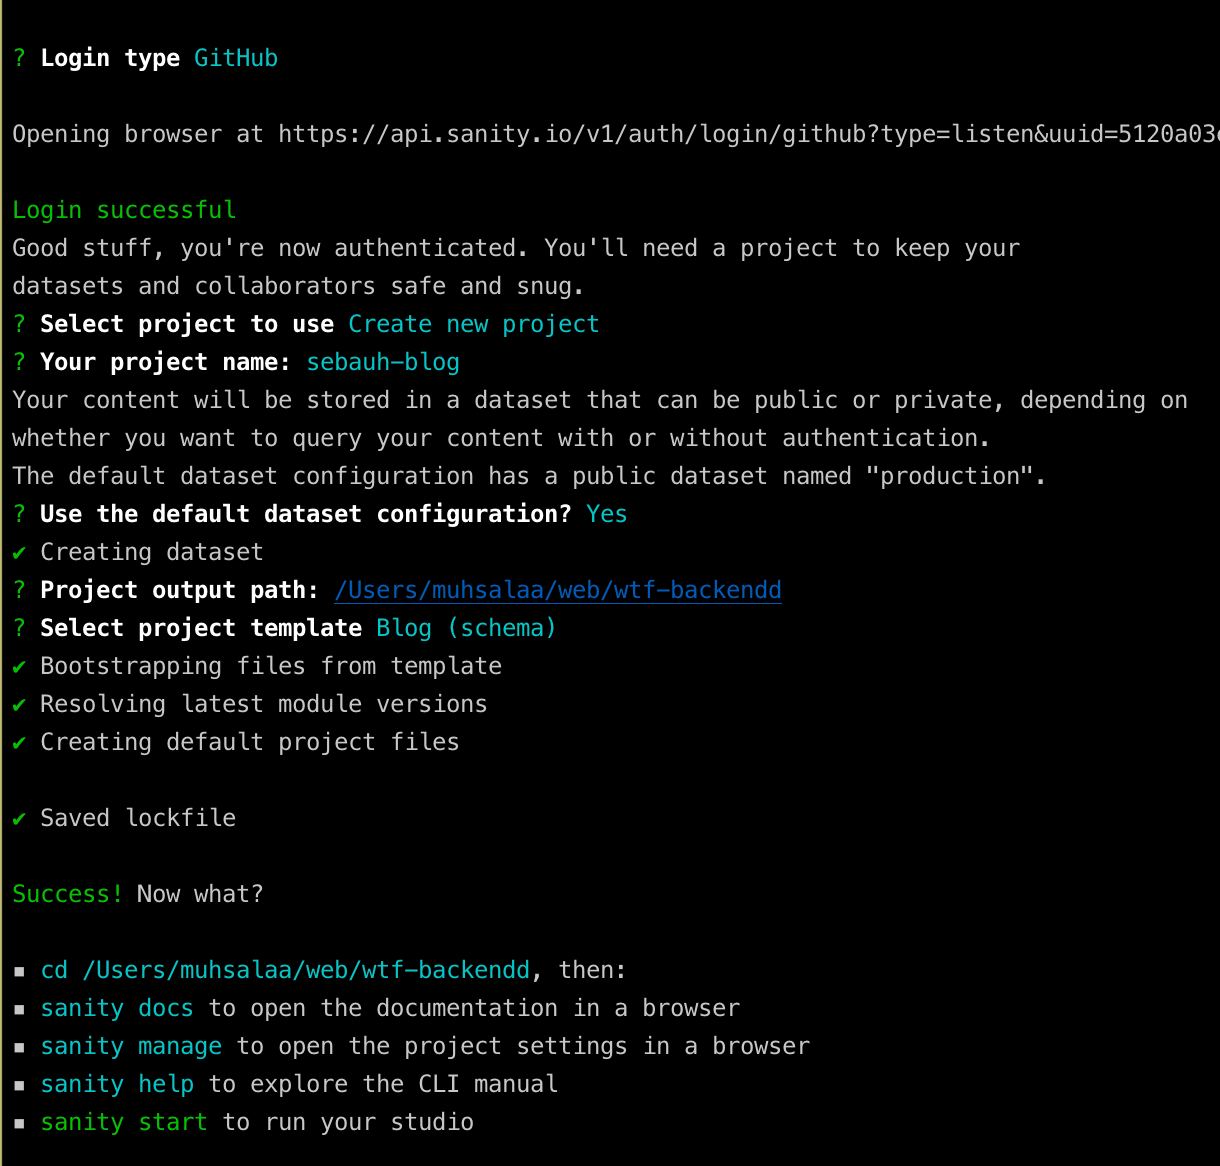
After that, there will be several prompts for login (can use google or github) and project configuration. Choose the default configuration and blog project template. When finished it will look like the following image.
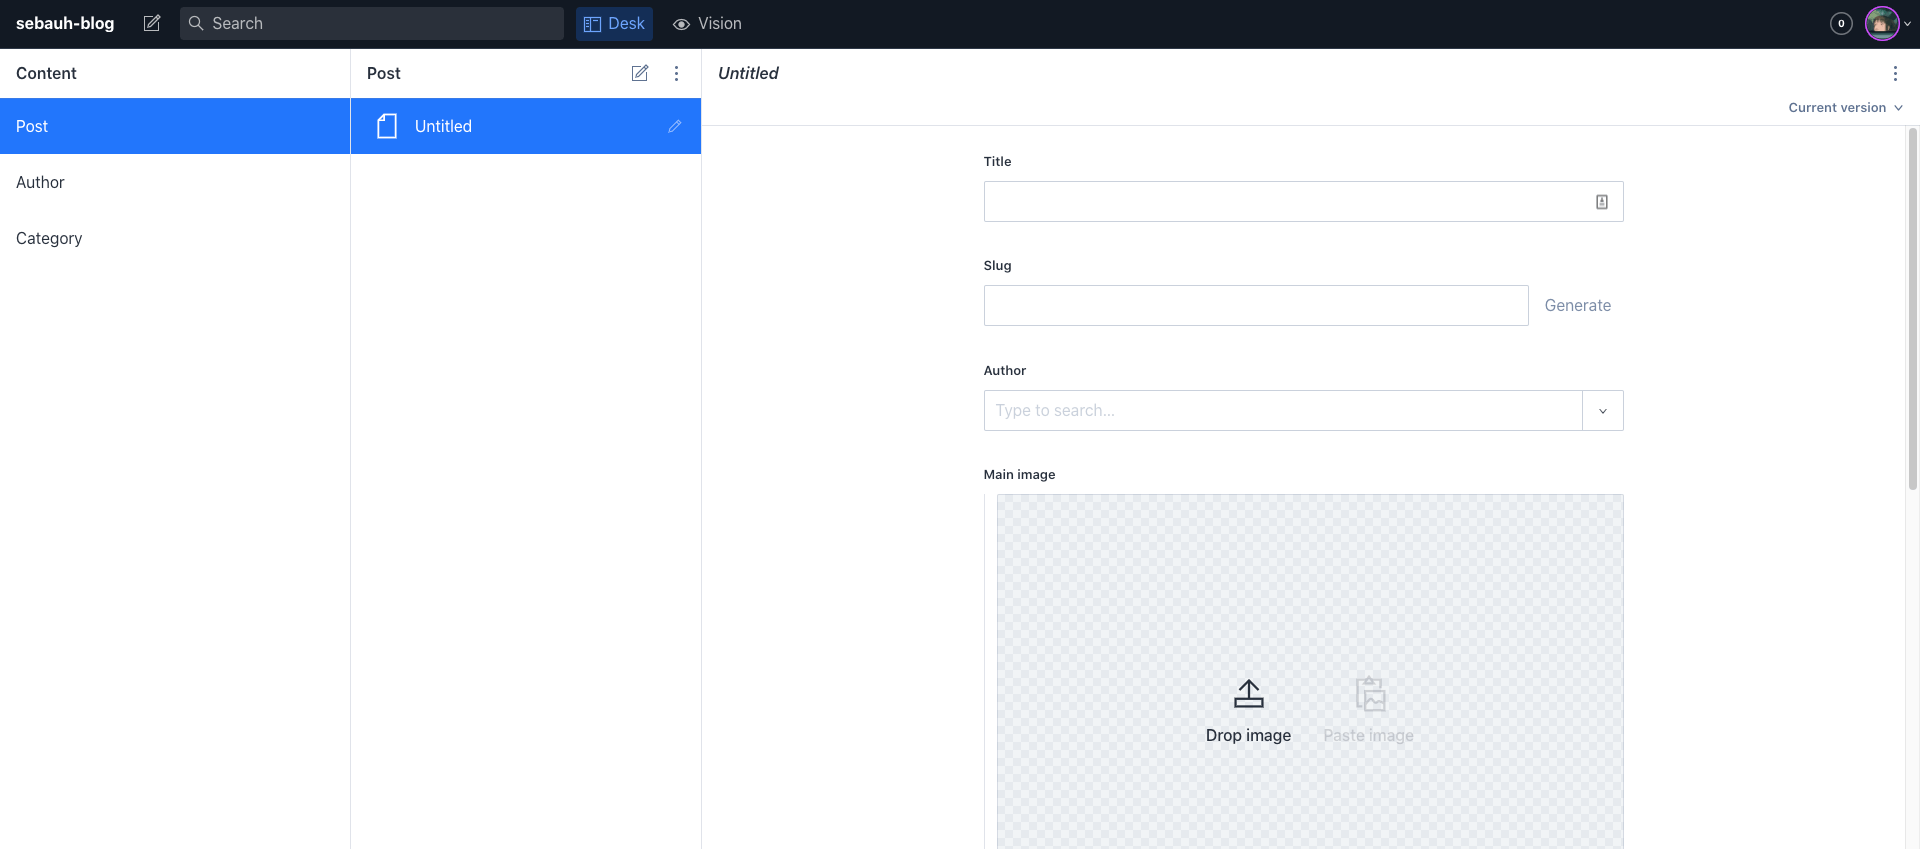
Then we try to run our studio with the command sanity start on the project root we just created. Then we can open our studio at http:// localhost: 3333. You will be asked to authenticate again, use the account you used to log in earlier.
If the login is successful, you will enter your studio which you can customize according to your needs.
Setup Sanity
Now we will setup Sanity so that it can be used to fill in articles for blogs. If you open the dummy.js file in the blog project folder, the data structure we need is like this.
[
  {
    _id: "5ff18dd9bb19da8432468a31",
    title: "incididunt laboris eu anim dolore nisi",
    thumbnail: "https://picsum.photos/500",
    slug: "the-slug",
    teaser: "Culpa magna cillum exercitation non commodo sit. Labore ex ...",
    tags: ["tech", "programming"],
    author: "Herrera Grimes",
    mtr: 10,
    content: "some long text ...",
    created_at: "Sat Jan 13 2018 13:13:18 GMT+0700 (Western Indonesia Time)",
  },
  // ...
];
Next, we will edit the existing schema in the Sanity project. The blog template that we choose when configuring the project will provide a schema as shown below (ignore other folders or files, our focus is only on the schemas folder)
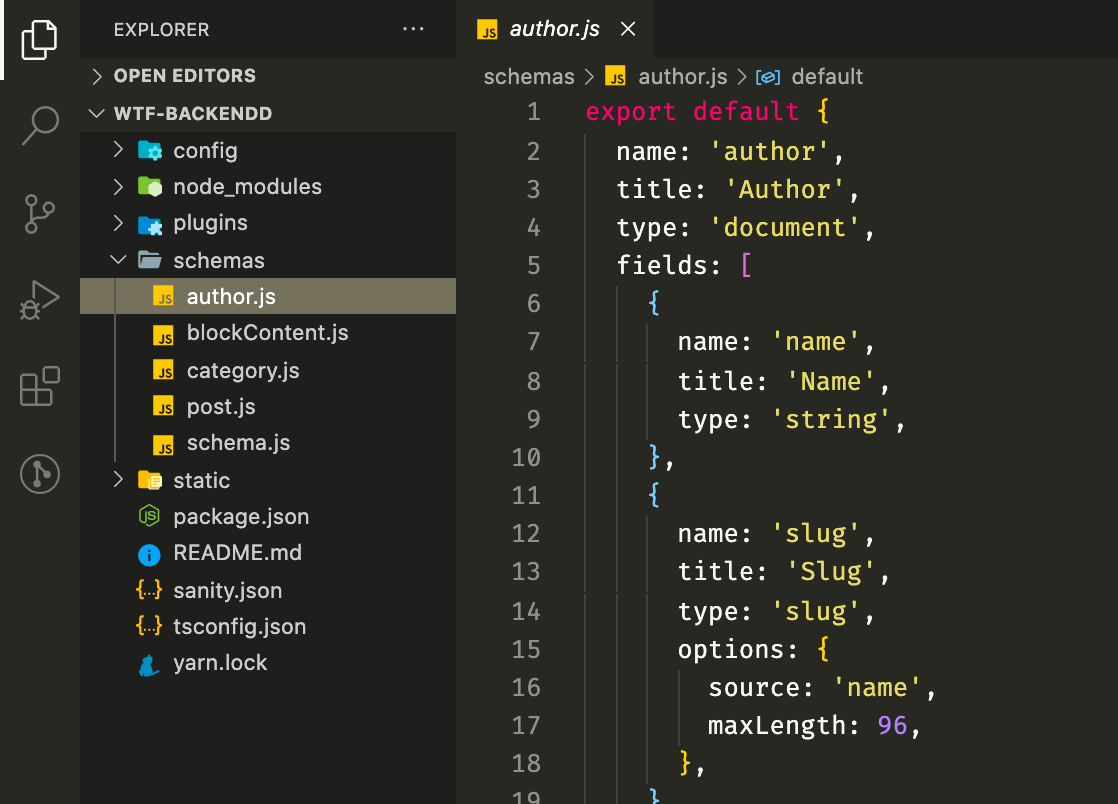
There are 5 schemas in the schemas folder. Each of them has the following roles:
- author contains configuration for article author data entry form
- blockContent contains configuration for rich text fields used in article configuration
- category is the configuration for categories / tags for articles
- post is the configuration for the article form
- schema is the main configuration that will tie all previous configurations into one complete schema which will be displayed in the studio.
We start by adjusting the configuration for author, change the file to be like the following code.
// author.js

export default {
  name: "author",
  title: "Author",
  type: "document",
  fields: [
    {
      name: "name",
      title: "Name",
      type: "string",
    },
  ],
  preview: {
    select: {
      title: "name",
    },
  },
};
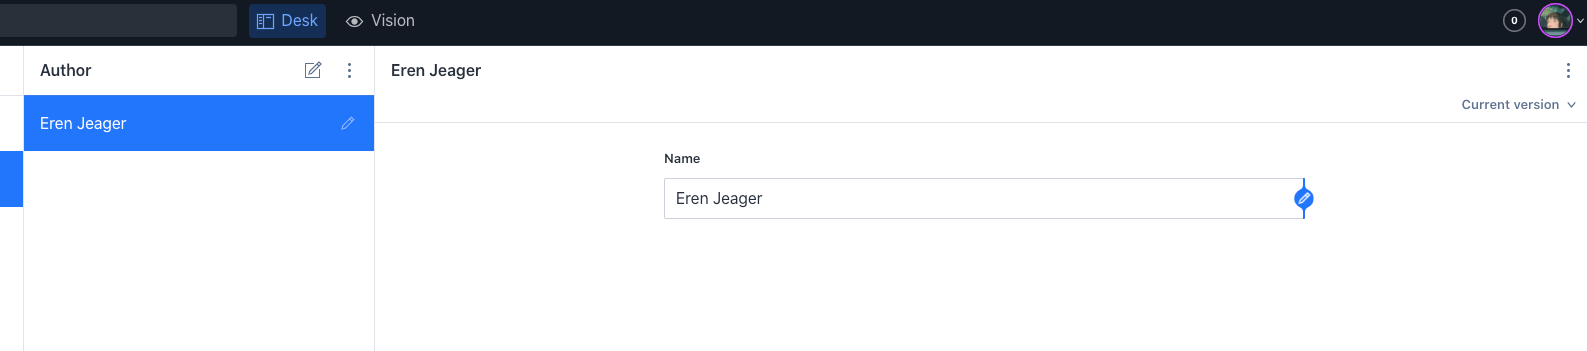
Compared with the initial configuration, we removed the slug, image, and bio properties from fields, as well as the media property from preview. If you look at the ArticleCard component on the blog, it doesn't require slug, author photo or bio. Meanwhile, the media property in the preview function is to add an image to the list of authors in the studio, which needs to be removed as well because image field has also been deleted. Later there will only be a name field in the studio.
Next, we edit the category and post configuration as below
// category.js

export default {
  name: "category",
  title: "Category",
  type: "document",
  fields: [
    {
      name: "title",
      title: "Title",
      type: "string",
    },
  ],
};
// post.js

export default {
  name: "post",
  title: "Post",
  type: "document",
  fields: [
    {
      name: "title",
      title: "Title",
      type: "string",
    },
    {
      name: "slug",
      title: "Slug",
      type: "slug",
      options: {
        source: "title",
        maxLength: 96,
      },
    },
    {
      name: "teaser",
      title: "Teaser",
      type: "text",
    },
    {
      name: "author",
      title: "Author",
      type: "reference",
      to: { type: "author" },
    },
    {
      name: "mtr",
      title: "Minutes to Read",
      type: "number",
    },
    {
      name: "thumbnail",
      title: "Thumbnail",
      type: "image",
      options: {
        hotspot: true,
      },
    },
    {
      name: "tags",
      title: "Tags",
      type: "array",
      of: [{ type: "reference", to: { type: "category" } }],
    },
    {
      name: "created_at",
      title: "Created at",
      type: "datetime",
    },
    {
      name: "content",
      title: "Content",
      type: "blockContent",
    },
  ],
  preview: {
    select: {
      title: "title",
      author: "author.name",
      media: "thumbnail",
    },
    prepare(selection) {
      const { author } = selection;
      return Object.assign({}, selection, {
        subtitle: author && `by ${author}`,
      });
    },
  },
};
After all is done, save your changes, and see if the display in the local studio has changed. If you haven't, do manual refresh because sometimes the changes are a bit late.
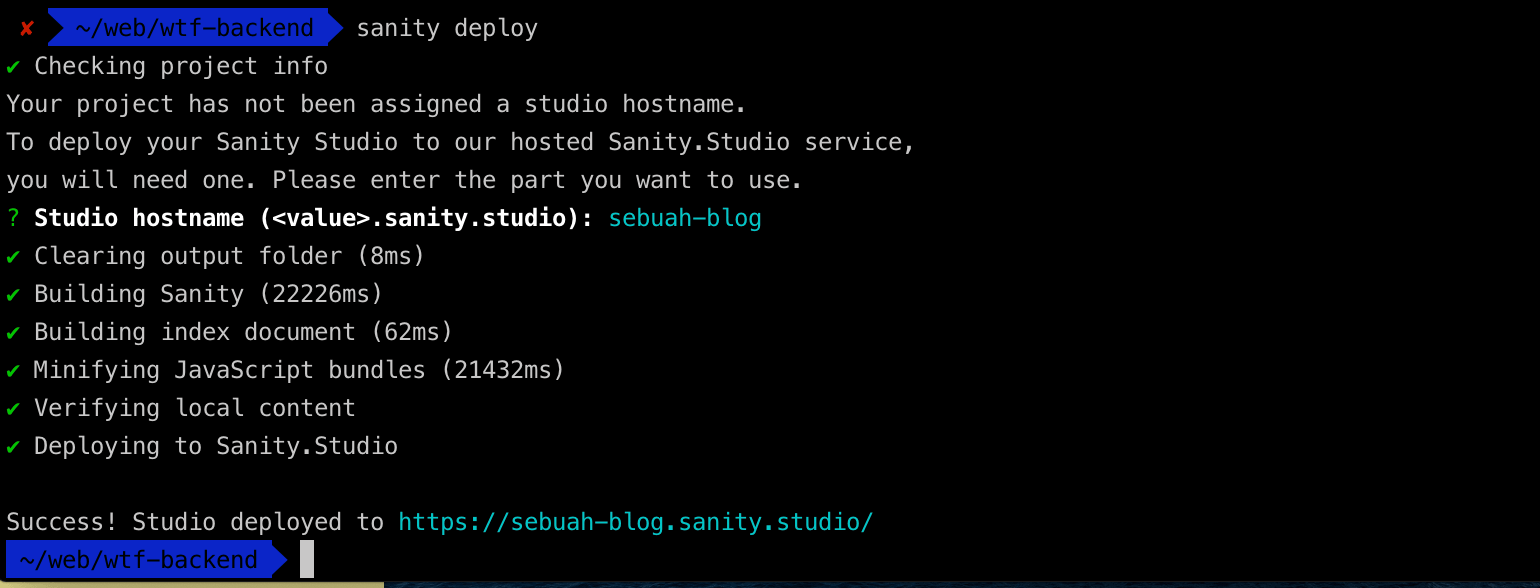
Before we can actually add articles, we need to deploy our studio to the desired hosting. Basically, Sanity is a Single Page Application built with React. So we can deploy to Netlify, Vercel, Digital Ocean, and so on. However, Sanity provides an easy and free solution, which we'll choose, for deploying to hosting them with a single command line in the root of your studio project.
$ sanity deploy
The Sanity CLI will do our building and deploying our studio. There will be a prompt to enter the studio-hostname. Just enter the name you like. After success, you will get a studio link that is ready to use.
Now we can add articles to be displayed on our blog later. Start by filling in category and author as both data will be used when creating post. I think it's quite easy to fill in articles on the post form, you can fill them in according to your wishes so that later we will try to fetch them from the blog.
Integration with blog
Alright, our studio is up and running. I have also added author and category, and created two sample articles. Now is the time for us to integrate the data that we created in the studio with the blog.
First, we first install some required dependencies. @sanity/client for fetching data, and @sanity/block-content-to-react for parsing rich text of our blog content to React components.
$ yarn add @sanity/client @sanity/block-content-to-react
After the installation is complete, create a config.js file containing the project configuration and the dataset so that we can fetch it to the Sanity data store. Then the .env.local file to store sensitive data, such as projectId, which you can get on your dashboard of Sanity account.
# .env.local

PROJECT_ID=sebuah_project_id
DATASET=sebuah_data_set
// config.js

const sanityClient = require("@sanity/client");

export const client = sanityClient({
  projectId: process.env.PROJECT_ID,
  dataset: process.env.DATASET,
  token: "",
  useCdn: false,
});
The configuration is complete. Now we just need to create a query to retrieve data from the Sanity data store. This process is similar to when we query MySQL or MongoDB databases, only the query language is different.
On the Sanity.io project dashboard, you can see various information such as your plan and your remaining monthly free usage quota (which based on my experience has never run out). Then there are also various menus to manage the dataset used, add project members (yes, we can collaborate to create content with a maximum of 3 members for the free plan), and set up authentication for data access.
Sanity uses Graph-Relational Object Queries (GROQ), Sanity's query language, which I find quite easy to understand. You can see the basic usage here.
The blog we created has two pages that will use data, namely / or home which contains a list of articles, and /articles/[slug] which contains article details. All pages can be viewed in the pages folder of the blog project. NextJS performs routing based on the files in this folder.
For the home page, we need the necessary data to map the ArticleCard component. Add a query variable with a value of the object containing the query.
// config.js

// ...

export const query = {
  home: `*[_type=="post"]|order(created_at desc)
    {
      _id,
      title,
      teaser,
      created_at,
      "slug": slug.current,
      mtr,
      "author": author->name,
      "thumbnail": thumbnail.asset->url,
      "tags": tags[]->title
    }`,
};
The above query is quite easy to read if you frequently interact with a database query. In short, we retrieve data from the post dataset, sorted by the most recent creation date. Then the specific data taken is in the curly bracket.
Some properties may be less intuitive, such as slug, author, thumbnail, and tags. For slug, the data stored in the store is an object, with the current property storing the actual slug string. Author and tags use arrows because their data types are references to other datasets. thumbnail which is an image that has a combined form of the three previous data. For more details, you can read the documentation of GROQ.
Next, edit the pages/index.js page for integration with our data store, using the previously installed @sanity/client module.
import { ArticleCard, Layout } from "../components";
import { client, query } from "../config";

export async function getStaticProps() {
  const post = await client.fetch(query.home);

  return {
    props: { data: post },
    revalidate: 1,
  };
}

export default function Home({ data }) {
  return (
    <Layout>
      <div className="grid md:grid-cols-2 xl:grid-cols-3 gap-6">
        {data.map((article) => (
          <ArticleCard key={article._id} post={article} />
        ))}
      </div>
    </Layout>
  );
}
We will discuss per line. On line 2 I import clients and queries from the config that has been created.
Lines 4 through 11, I created a function getStaticProps which is a requirement for Next.js to perform static page generation. This function, if exported from a page, will pre-render that page at build time with the data returned by it.
In the above function, I do fetching to a data store, and the return value of this function is an object with the property props containing the resulted data, and revalidate which is the configuration of how many seconds before the page revalidates the data.
Lines 17 to 19 I did a map on the data props which was returned from the getStaticProps function to the ArticleCard component, which is a card containing the details of the articles we saw on the main blog page.
Static generation means that the page is built initially to a static html, css and javascript files for each page. Unlike React, the build result is only an index.html file, which when opened in the browser will run the script and fill in the page content.
Then how will the page be updated if the database change, while our file is static? Next.Js provides a
revalidateconfiguration to the return value of thegetStaticPropsfunction, which will perform page regeneration after the specified time period. So, for example, if we edit our article, when we open a page that contains the article, initially there won't be any changes. Wait a few seconds then refresh, then the page will get the changes.
Next we edit the ArticleCard component so that when the link is clicked it will go to the page according to the slug article, change href to be as shown below.
  // components/ArticleCard/index.js

  // ...
  <Link href={`/articles/${slug}`}>
    <button className="flex items-center text-xs text-gray-50 bg-gray-700 py-1 px-2 rounded-full ml-auto focus:outline-none">
      Read article
      <FiArrowRight className="ml-1" />
    </button>
  </Link>
  // ..
}
Now we turn to the article detail page which will display the full content. We first create the query in the config.js file.
// config.js

// ...

export const query = {
  // ...

  articleSlug: `*[_type=="post"]
    {
      "slug": slug.current,
    }`,
  articleDetail: `*[_type=="post" && slug.current == $slug]
    {
      title,
      content[]{
        ...,
        asset-> {
          ...,
        }
      },
      created_at,
      "thumbnail": thumbnail.asset->url,
      mtr,
      "author": author->name,
      "tags": tags[]->title
    }`,
};
There is a little difference from the query above, inside articleDetail, in the square bracket besides specifying the post dataset, I also created a filter to only retrieve article data whose slug matches the parameter when it is fetched later. Next, we edit the pages/articles/[slug] .js file in order to display the article details.
import Image from "next/image";
import { FiCalendar, FiClock, FiLoader } from "react-icons/fi";
import { useRouter } from "next/router";
import BlockContent from "@sanity/block-content-to-react";

import { client, query } from "../../config";
import { Layout } from "../../components";
import { shortDateFormat } from "../../helpers/date";

export async function getStaticPaths() {
  const post = await client.fetch(query.articleSlug);

  const paths = post.map(({ slug }) => ({
    params: { slug },
  }));

  return {
    paths,
    fallback: true,
  };
}

export async function getStaticProps({ params }) {
  const article = await client.fetch(query.articleDetail, {
    slug: params.slug,
  });

  return {
    props: {
      article: article[0],
    },
    revalidate: 1,
  };
}

export default function About({ article }) {
  const router = useRouter();

  if (router.isFallback) {
    return (
      <Layout>
        <div className="w-full h-96 flex items-center justify-center">
          <FiLoader className="text-5xl text-black animate-spin" />
        </div>
      </Layout>
    );
  }

  return (
    <Layout>
      <h1 className="font-bold text-xl md:text-2xl">{article.title}</h1>
      <div className="flex items-center tracking-tighter mb-2 text-sm md:text-lg text-gray-700">
        <p className="underline mr-3">{article.author}</p>
        <div className="flex items-center mr-3">
          <FiClock className="mr-1.5" /> {article.mtr} min
        </div>
        <div className="flex items-center">
          <FiCalendar className="mr-1.5" />{" "}
          {shortDateFormat(article.created_at)}
        </div>
      </div>
      <div className="prose md:prose-lg prose-blue max-w-none font-body">
        <div className="my-2 md:my-4">
          <Image
            src={article.thumbnail}
            width="640"
            height="320"
            alt="blog-photos"
            layout="responsive"
          />
        </div>
        <BlockContent blocks={article.content} />
      </div>
    </Layout>
  );
}
Okay, let's examine it line by line. Line 3-4 I import one module and component, useRouter to check whether the destination route has been generated or not so that otherwise it can display loader. Meanwhile, the BlockContent component is useful for rendering content so that it can be displayed.
On lines 10-21, I created a getStaticPaths function which, if it is on a dynamic page, will pre-render all the existing pages. Inside it I fetch to get all the articles slug that I have, then mapping the data into an array containing the path of all articles. The fallback property set to true will create a new path that is entered not redirect to a 404 page, but to a fallback page.
For example, the initial generation result has two slugs, /article-one and /article-two, then if we open the non exist /article-three, we will be redirected to the fallback page, which in the code above is the loader icon. While at the fallback page, Next will fetch the slug. If found, the original page will appear, and after that, it will not enter the fallback page again.
Finally, after all the data we get from the data store is put in the appropriate component sections, create a next.config.js file in the project root. We need to write the image CDN base URL for optimization using the next/image component.
module.exports = {
  images: {
    domains: ["cdn.sanity.io"],
  },
};
It's finished, our blog is up and ready to deploy 😄
Deploying blog to Vercel
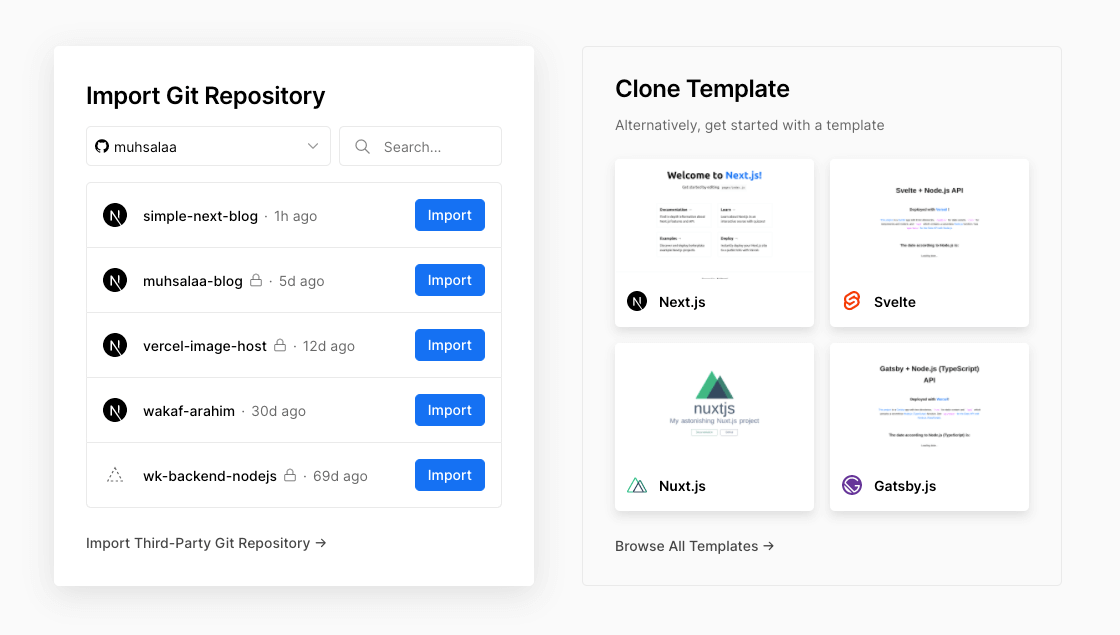
To deploy a blog to Vercel is quite easy. First, register your account (Use github so you don't need to reconnect with the repository). Next, import the project you want to deploy by pressing the New Project button on the account dashboard.
After selecting the project to deploy, proceed with selecting the type of account to use. Use a personal one. Vercel also provides a paid team/pro account, which has more advantages.

Next, enter the required environment variable. Enter the data that you previously put in the .env.local file here, and click deploy.

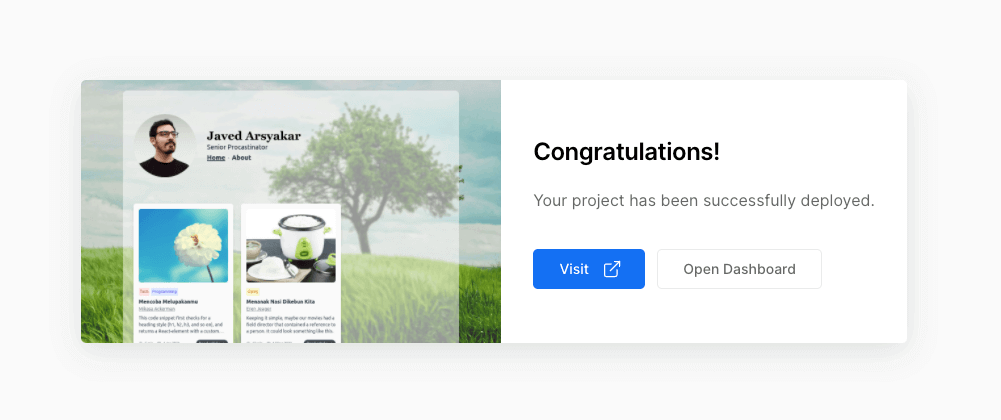
Later you will see the building process of our blog running on vercel, and if all processes are successful, you will see an alert containing an image of your blog that has been successfully deployed. You can visit it or head to the application dashboard.
I think that's all I can share on this occasion. Hopefully, this is useful and makes you want to write and share anything. If you have any questions, you can contact me on Twitter. Thanks.